
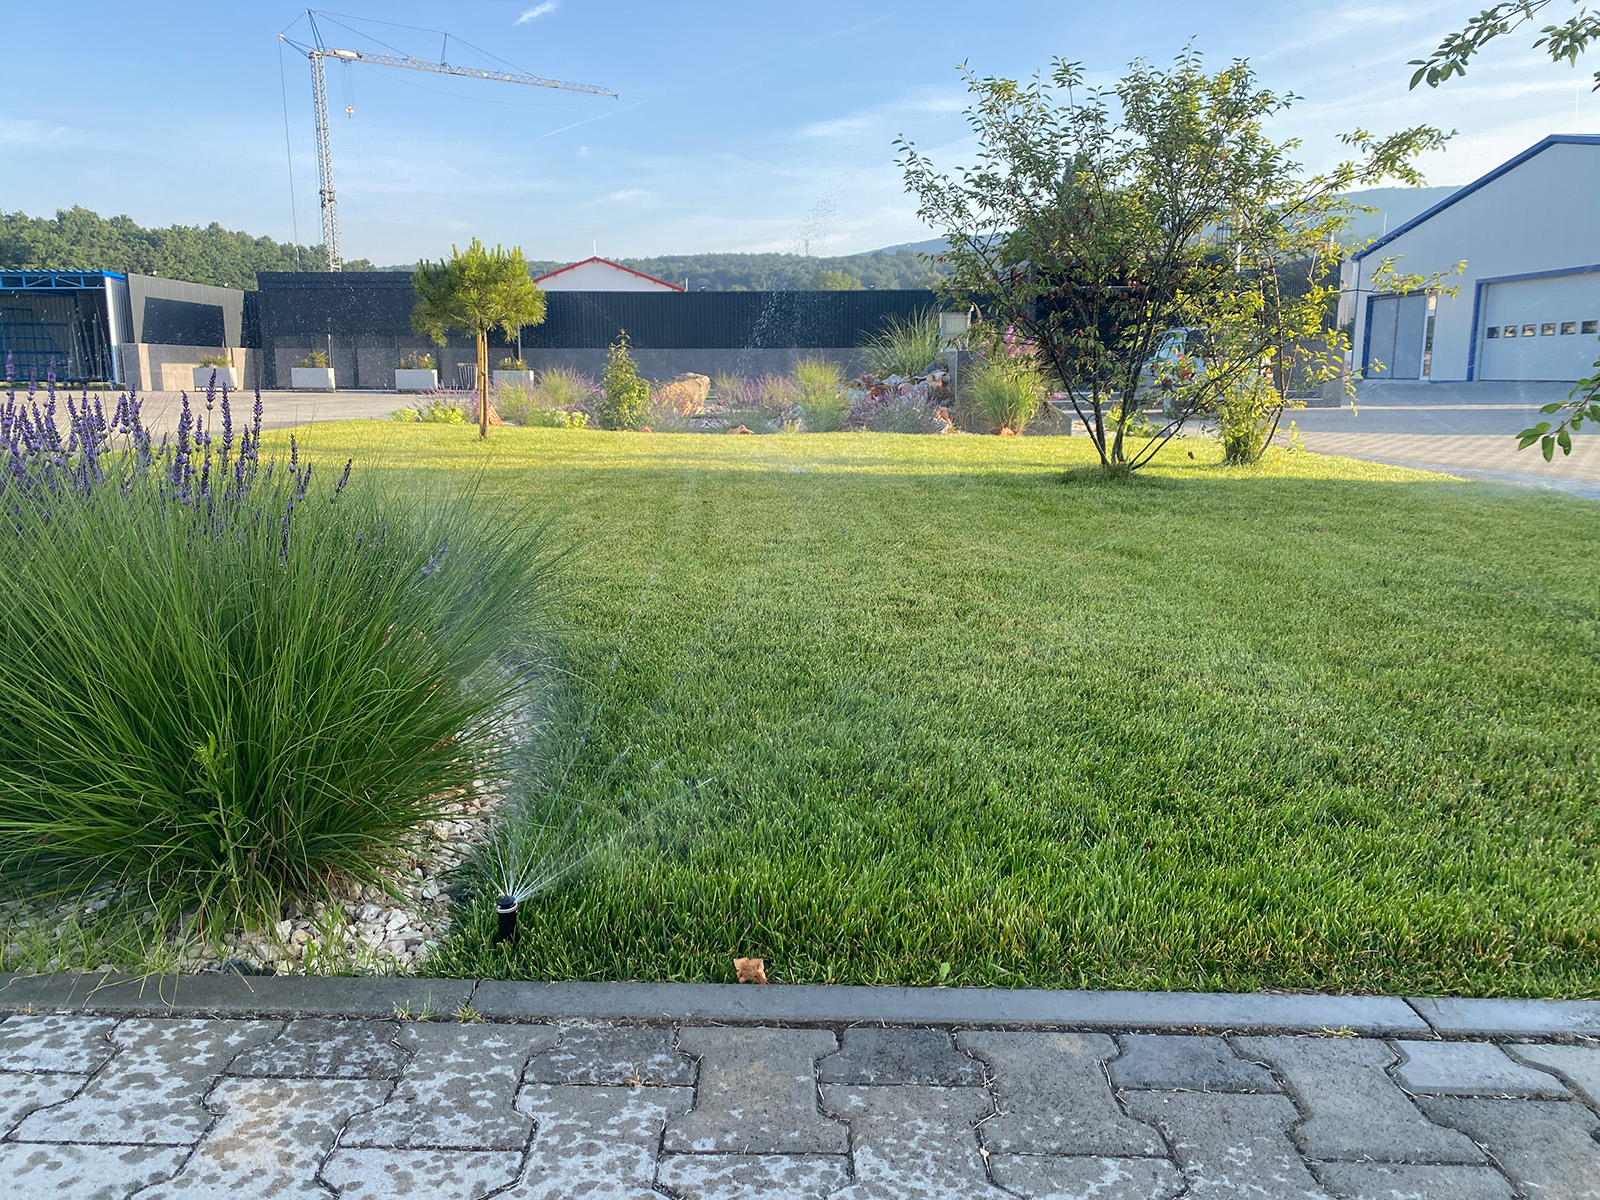
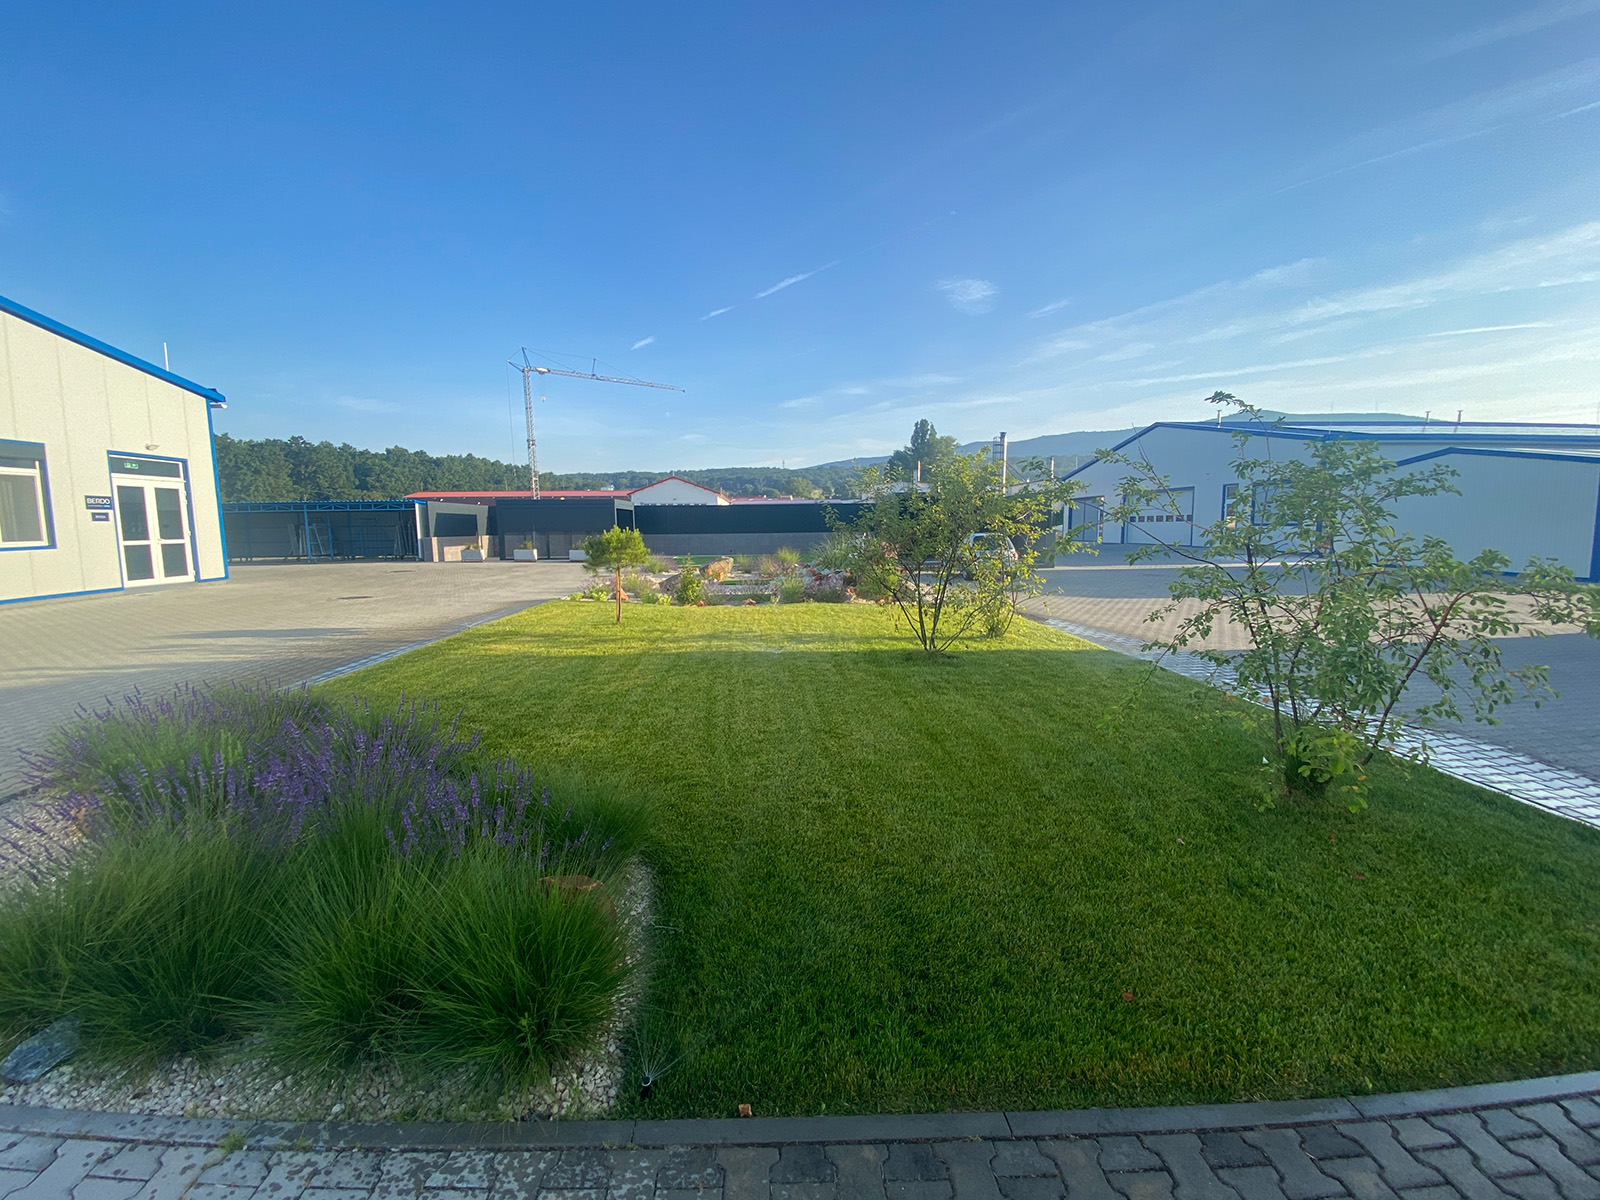
Who is an automatic irrigation system recommended for?
- Those who want a green garden without the hassle.
- For those who want to save time and energy
- For those who want to water their plants as economically as possible!
- For those of you who are fed up of being asked for watering favours before the holidays!
- For those who would rather watch their favourite TV series than splash!
The aim of maintaining an automatic irrigation system is to ensure that it can perform its functions to the full while maintaining its long service life. The most important maintenance is winter compressor blow-out, as frost damage can cause some of the most damage. 50% of irrigation system failures are due to lack of maintenance or incorrect maintenance!
In our country, irrigation systems have been in place for 25 years, but in the USA, the home of this equipment, irrigation systems have been in good working order for much longer.
Since 95% of the whole system is plastic, it is mainly the minimal electronics that are likely to fail. Of course, in an accelerated consumer society, electronic devices deteriorate faster than those manufactured a few decades ago, so it is to be expected that the electronics (automatic control) will need to be replaced from time to time.
Indeed, the larger and more difficult to access part of the system can last for decades with proper use and maintenance. The most common failures are not due to age or wear, or poor material quality. Rather, they are caused by external factors!


Our services:
- Irrigation system design
- Installation of irrigation system
- Drip irrigation system
- Pump selection and installation
- Spring startup, winterization at the end of the year
- Rainwater tank installation upon request
The steps of installation
1. After arrival on site, the tools and irrigation system components are loaded.
2. After a visual inspection of the site at the time, the workflow is discussed and allocated.
3. digging of the designated trenches or the start of the sodding operation.
4. placing the irrigation system piping in the trenches.
5. Marking the locations of the sprinklers and installing them on the piping.
6. Drilling the water well or digging the location of the plastic valve manhole.
7. Assembling the electric valves (solenoid valves).
8. Connecting the zone piping to the valves.
9. After disconnecting the cables, installing the automatic control and the rain sensor.
10. The next step is to connect the water source.
11. Pressure test and review before burying the pipeline.
12. After the trenches are buried, the nozzles are adjusted.
13. Programming the control unit.
14. Clean up and haul off.
15. handover of the irrigation system, training of the owner and handover of the instructions in English.